HidGuardian (Gen1) Installation
Attention
This article covers the installation of the (deprecated) HidGuardian major version 1 (a.k.a. Gen1) driver. Its development has been discontinued yet there's software out there depending on it. Please make sure you need version 1 first before going through this article!
About
HidGuardian (abridged as HG) v1 is very limited in functionality. It was more of a proof of concept (PoC) than a full blown product. Nonetheless it can still assist you in blocking input devices which is its core intention.
Attention
If you're a developer starting with a fresh project, please refrain from using HG v1 as it won't receive any new features or fixes, thank you!
Some facts about HG v1:
- Configured via registry keys and values
- Can only whitelist processes based on PID (numeric Process ID)
- Has no real "official" API so might break between minor releases
Projects known to depend on HG v1
Check the Known Users of HidGuardian page for a list of software that make use of HidGuardian. This list is in no way complete as we rely on community/developer feedback.
Preparations
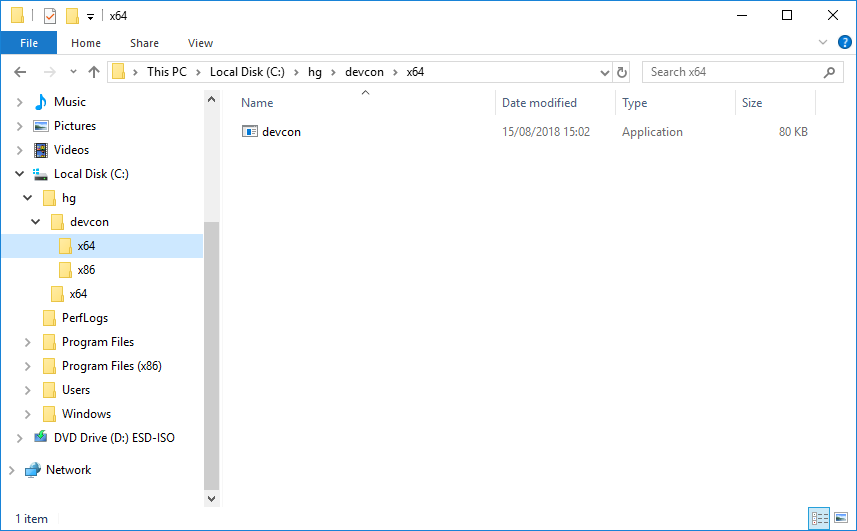
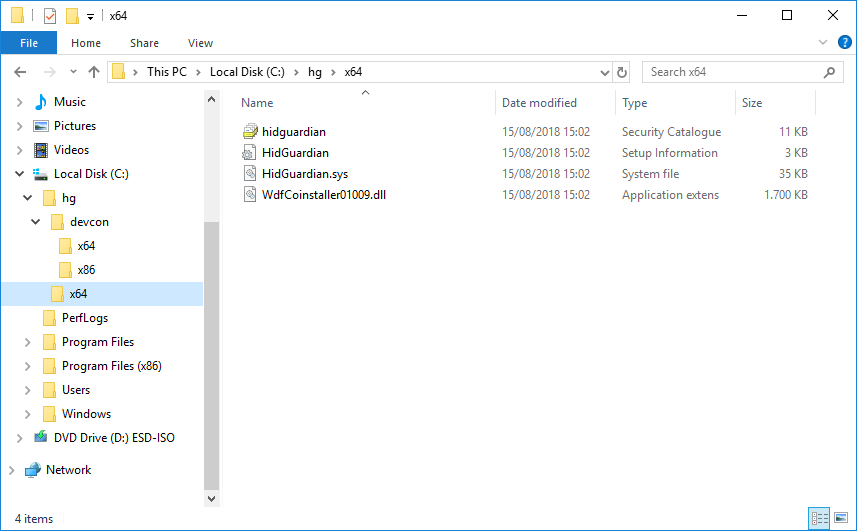
👉 Grab the driver archive matching your systems architecture from here and extract them (e.g. to C:\hg)
Hint
Some morons/trolls might have told you that you have to put drivers into system32 folder. Don't do that, Windows can take care of its drivers by itself, fooling around in your system folders can brick your machine. You have been warned.
👉 Now get the Device Console (devcon) utility and also extract it somewhere (e.g. to C:\hg)
So the folder structure you end up with should look like so:
Driver installation
Alright, here we go 😊 take one last deep breath and continue reading carefully and nothing will go wrong.
Fire up PowerShell as Administrator and insert the following commands one after another:
C:\hg\devcon\x64\devcon.exe install C:\hg\x64\HidGuardian.inf Root\HidGuardian
Which is expected to return:
Device node created. Install is complete when drivers are installed...
Updating drivers for Root\HidGuardian from C:\hg\x64\HidGuardian.inf.
Drivers installed successfully.
Hint
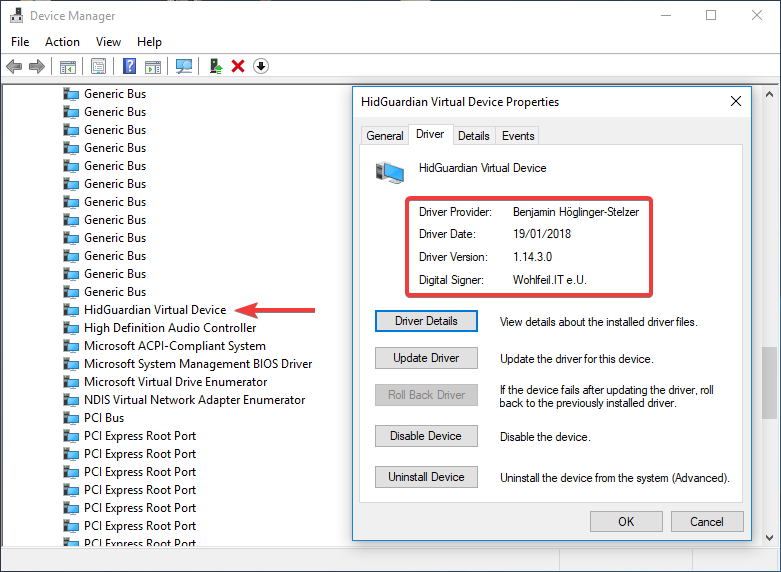
This command created a virtual "dummy device" so the driver can get loaded.
And finally:
C:\hg\devcon\x64\devcon.exe classfilter HIDClass upper -HidGuardian
Which is expected to return:
Class filters changed. Restart the devices or reboot the system to make the change effective.
    HidGuardian
Hint
This command internally adjusted some registry values causing the driver to get loaded onto every input device automatically.
That's it! You're ready to rock 🎉
Attention
You'll either need to unplug and plug in your input devices or reboot the machine for the driver to work!
Driver removal
Attention
Removing HG requires a special procedure described here or else you could end up with no keyboard/mouse!
For removal you don't need the original driver files, you will need devcon though so make sure you got it ready as described earlier.
👉 Then from an elevated PowerShell execute:
C:\hg\devcon\x64\devcon.exe classfilter HIDClass upper !HidGuardian
C:\hg\devcon\x64\devcon.exe remove Root\HidGuardian
Hint
It might have accidentally happened that your system has more than one virtual device. If that's the case, simply execute the two commands multiple times until they're all gone.
Now reboot and you're good to go 😄
Registry clean-up
Some registry keys and values can be safely removed manually after the driver is gone.
In Computer\HKEY_LOCAL_MACHINE\SYSTEM\CurrentControlSet\Services\HidGuardian\Parameters the following values can be removed (if they exist):
AffectedDevicesExcemptedDevicesForce
The key Computer\HKEY_LOCAL_MACHINE\SYSTEM\CurrentControlSet\Services\HidGuardian\Parameters\Whitelist and all sub-keys can be removed as well.